This is idea #1. The Camo Mickey
Step 1: Materials needed: Heat n Bond, design outline, scissors, sharpie marker, iron, shirt, material for design.
 |
| The purple package is better if you are going to sew the outline... I need to go shopping |
 |
| I used Google images/outlines and changed the percentages in my printer settings |
 |
| Pieces from one of dear hubby's retired uniforms. |
Step 3: Cut out each image with room to spare.
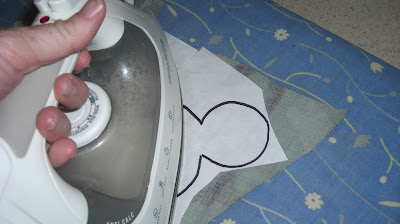
Step 4: Iron onto appropriate sized material. It is okay if the heat n bond overlaps, as long as the actual images do not.
Step 5: Cut out the design.
Step 7: Be done if you used the red packaged Heat n Bond, or reinforce image with a straight or zig zag stitch if you use the purple packaged Heat n Bond. I personally prefer the straight stitch overall because it is faster, and I kind of like the frayed look on the edges which are still contained by the straight stitch.
or
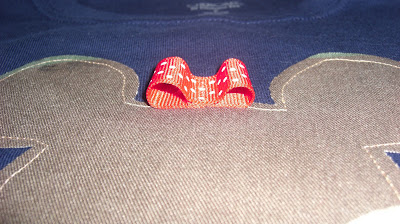
Step 8: For us "Minnies" in the group, I add the best bow I can muster.I have some 10 inch red ribbon with great white polka dots that I cut into 3 strips. I fold each ribbon into a "circle" and flatten it with my finger. If you are a perfectionist, use a pin, but I like to live on the edge. :-)
I line up my completed camp ears and hold the ribbon underneath the needle. When the needle drops into the fabric, I backstitch it and sew down the middle and back stitch again.
Here are the completed looks.
and
Easy, peesy. I look forward to our cheesy, group shot taken at Disney World in August.~hurley
PS: Any other easy group Disney shirts out there? Please show me!


No comments:
Post a Comment
I love comments! I also enjoy questions.
I apologize in advance for the word verification, but I am not a fan of SPAM, and it drives me nuts. I hope you are patient enough to "beat the word robot." Thanks, again!