Well, our Spring Break is over and I have been quite busy. I have been taking a lot more pictures of my projects, but many are still awaiting their final step. :-) I plan on posting much more frequently. Thank you for your patience and support. I can't believe it has been month since my last post. I actually miss it.
I saw a fabulous idea on a blog I follow and attempted to recreate it with my own little twist. We had a birthday party coming up, so I figured it was perfect timing to try it out. Up front I must say I am NOT a painter and this is NOT as good as the original, but I tried. Here is the amazing
original for boy's and girls.
Here is my process and result.
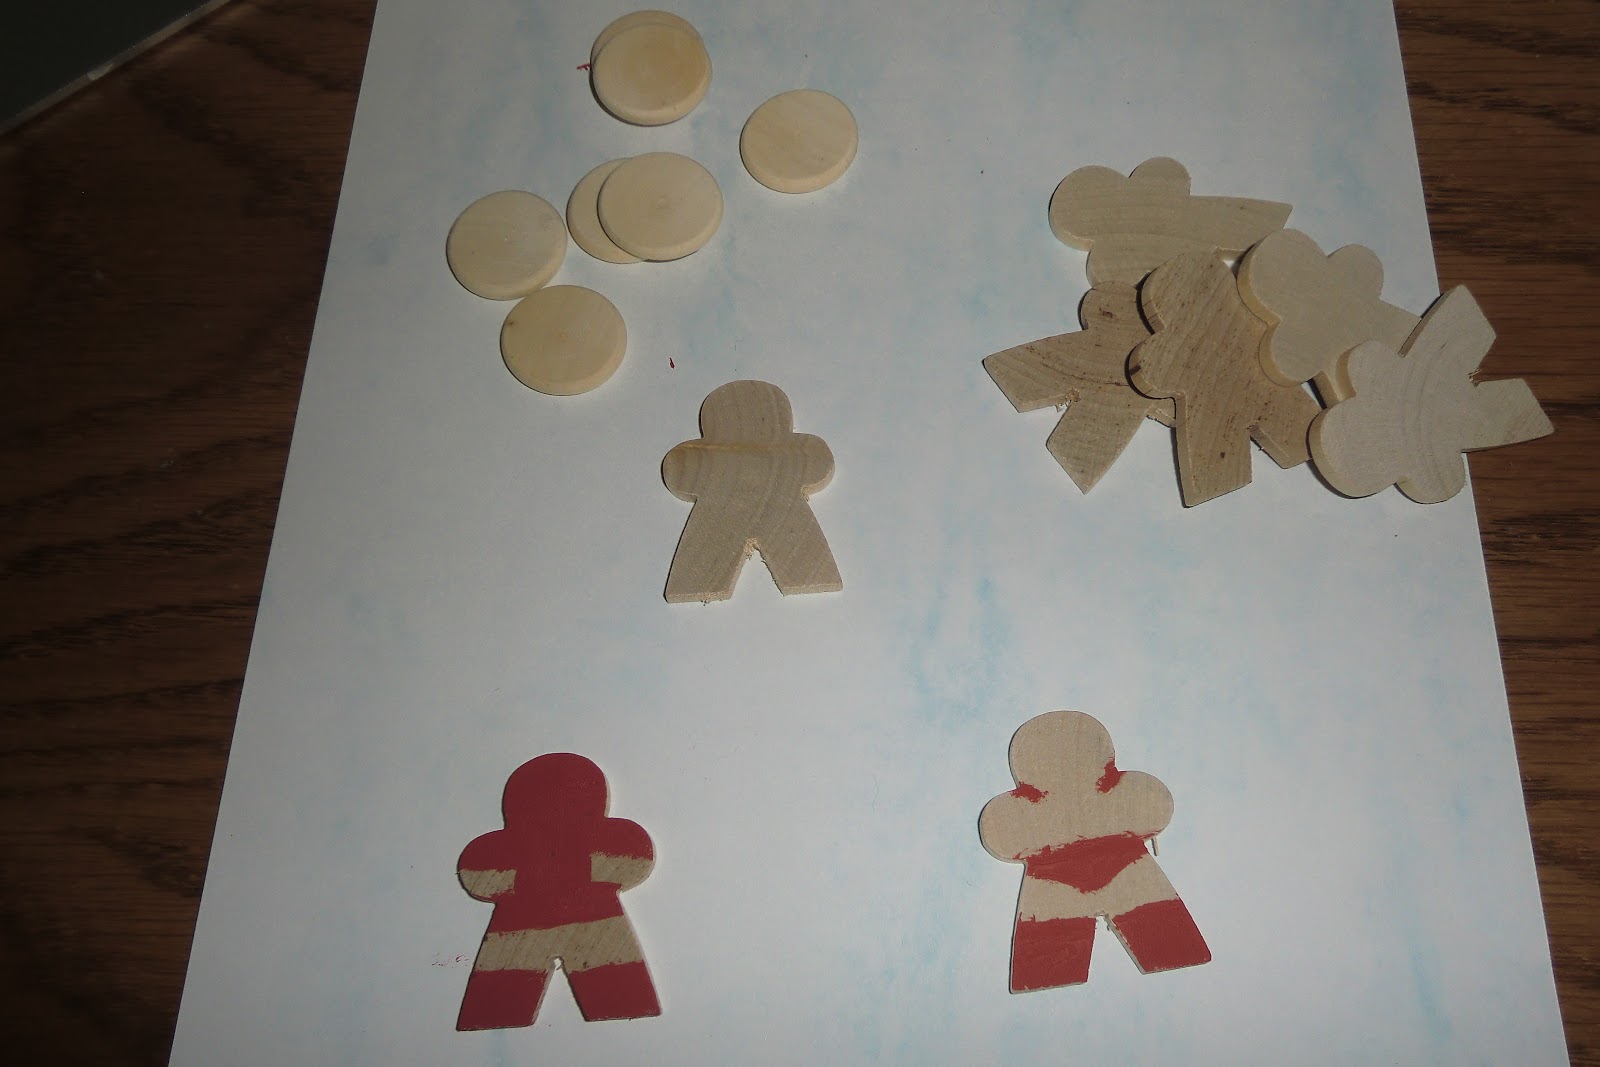
1. I went to Michael's to find the same wooden figures as in the original tutorial, but could not find them. I adjusted by buying flat character cutouts and also a set of wooden circles for bases. I also purchased a strong cardboard box with lid and a pre-painted star as a "hero" symbol.
2. I brainstormed figures our birthday boy would like and started painting them with acrylic paint with a small paint brush. I should have taken more photos, but I am new at this and am learning a lot on the way.
3. After the figures were painted and dry, I hot glued the bottom of the figures and stuck them on the bases that were also painted and dried. The bases were painted black. As you can see I did not take a picture during the process, so I "faked" it with a non-painted figure.
4. Here are my painted figures. Can you tell who they are? I started out with pairs and then just made groups.
5. Okay, okay... I know I am not an artist, so I will tell you who they are. Darth Maul & Obi One Kanobi (huge Star Wars fans); Spiderman & SuperMan & escaped prisoner; camouflaged soldier (birthday boy's Dad is in military) & random bad guy figure.
5. I hot glued the star on the box, inserted the figures and then added the birthday boy's name on the box.
I really enjoyed making a homemade gift, but I know I want to use a tinier paint brush next time. The good thing about crafting homemade things is that they don't have to be flawless. My motto is,
"If it was perfect, it would be in a store."
Have a great day! It is great to be back.
~hurley